We all know how to kick a tyre, but unfortunately, inspecting a potential car purchase is a bit more complicated than simply punting a Pirelli.
When looking under the bonnet of a car, most of us don’t know our alternators from our elbows, but that doesn’t mean there isn’t significant benefit to be had from making a few basic checks to get an idea of a car’s potential state of health before you buy it. With our guidance, naturally.
Of course, the best way to avoid trouble is to have the car looked over by a certified mechanic, and you can read about the best way of doing that here. However, carrying out a few basic checks of your own might help you weed out less desirable vehicles before you spend the cash on a pre-purchase inspection. Here’s what to look out for.
Checks to Make When Inspecting a Used Car
- Insist on history
- Explore the exterior
- Investigate the interior
- Browse under the bonnet
- Investigate underneath
- Next steps
Insist on history
First things first, hold your horses. When you first rock up at the dealer/seller, there’s a bit more paperwork to be done - on top of the checks you’ve already carried out - before you start kicking tyres and dipping dipsticks. And this could be the most vital part of the entire process: perusing the car’s service history.
The most important thing to ensure is that all routine work has been carried out according to schedule, in a timely fashion and within any specified mileage limits. If the service schedule has not been maintained, it can increase the risk of problems, and can be an indicator that the car has been neglected generally. If you can, it’s also a good idea to print out the MOT history check you’ve previously carried out at home, and cross-reference it with the service history to make sure all the dates and mileages marry up.
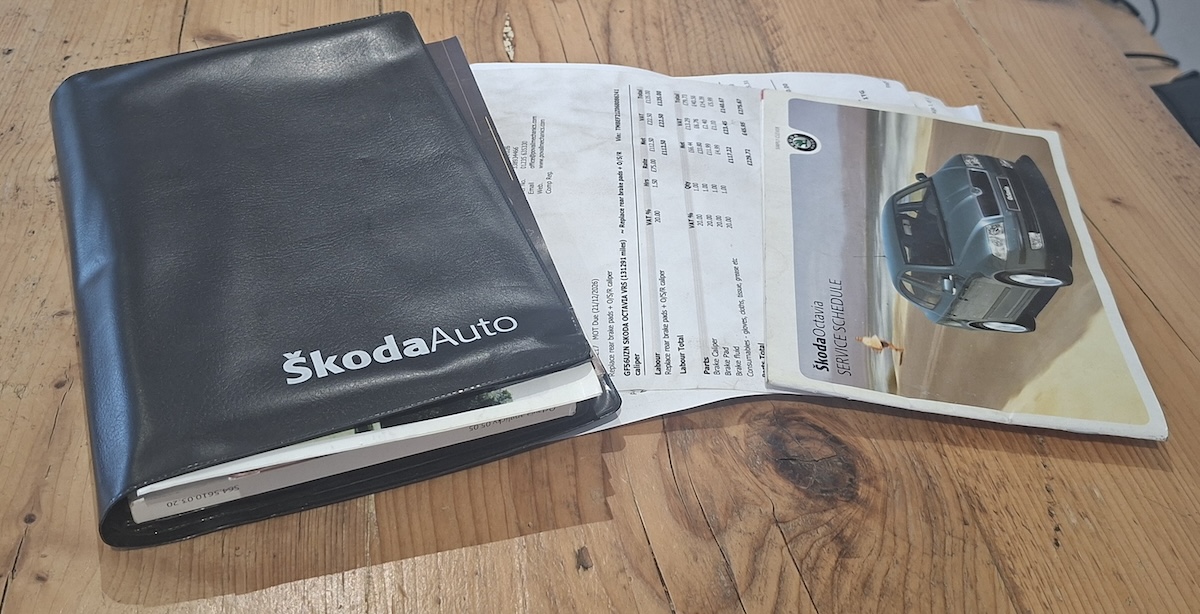
Also remember to check that the schedules for those things that don’t need attention at each and every service - such as timing belts - have been met when required. Shirking on these things can have catastrophic results for the car’s health.
If available, also ask for as many repair bills and receipts as you can get your hands on. Don’t be alarmed if there are a lot of them, as every car needs fixing from time to time, but keep an eye out for the same job being done more than once, especially if it’s a pricey one, because repeat work could indicate an inherent weakness with that particular part or system. Also, keep an eye out for mention of anything raised by your internet search for common faults conducted previously: previous replacement of a part can mean it’s less likely to go wrong again in the future, or conversely, if it’s already gone wrong more than once, then alarm bells should start ringing.
In any case, any car with only a partial service history should be treated with extreme caution, because unless it’s a rare model, you should be able to find another example that has a complete one. Any car with no history should, in our opinion, be given a very wide berth.
Once you’re happy that the car’s paperwork is in order, it’s time to get up close and personal with the car itself…
Explore the exterior
An afternoon of washing, polishing, detailing and buffing can hide a multitude of sins, but don’t take a sparkling paint job at face value. Walk around the car and look at the bodywork closely for signs of repair that may not have been mentioned in the paperwork you’re seen. If the paint colour seems to be a little bit off on some panels, if there are flecks of body-coloured paint where they shouldn’t be (like on the windows, seals or trims), or something simply doesn’t appear to line up correctly, ask the seller for an explanation. These repairs could point merely to a touch-up, or they could point to more significant damage.
You’ll also want to have a look for rust or corrosion. The most likely areas to be affected are around the wheelarches and along the bottom of the doors (inside and outside), but it can take hold wherever there’s metal. Newer cars tend to be well protected from rust, but be diligent regardless, because once rust sets in, it’s an ongoing (and potentially expensive) battle to keep it in check.

Next, move onto the windscreen, and check for chips, cracks and pits. If you find any, you’ll probably want to have it replaced. This might be covered by your insurance, but keep in mind that an excess might be payable.
Also, test the exterior lights by having the sales person operate them one-by-one while you observe from outside. This might seem like overkill, but when you see the replacement costs of increasingly common high-tech LED lighting, you might be glad you bothered. On older cars, check light casings and lenses for fogging or cracks.

Finally, inspect the tyres. If you’re looking at a relatively new, low-mileage car with brand new, hardly-used tyres, that’s a sign of a possible issue, and it warrants asking the seller why they needed to be replaced so soon. And obviously, old tyres, whether worn down or starting to dry out and crack from age, will need to be replaced, and the cost of this can be considerable, depending on the type of car you’re considering.
Investigate the interior
Nothing takes the shine off a new-to-you car like a stinky interior, and the stench of stale cigarette smoke and other musty or mouldy smells can be hard to treat, so it’s best that they’re absent in the first place. Musty smells can also be an indicator of a leak from outside, or possible flood or fire damage in the past.
If the interior passes the sniff test, then look around for excessive wear, rips, cracks, stains, burn holes or other general damage to the upholstery, headlining, dashboard, steering wheel, door trims and doors sills. If these areas appear to have been abused or poorly maintained, it could be a sign that the rest of the car has received similar treatment. The same applies to the rest of the interior fixtures and fittings: seats, audio controls, switches, gauges, indicator stalks and rear-view mirror. These should all work properly and be fixed securely. And of course, any illuminated warning lights are a big red flag and should be addressed before you buy.
Regardless of the outside temperature, do your best to determine whether the heating, ventilation and air-conditioning (HVAC) system is working as it should, including each of the zones (driver/passenger/rear, if applicable). If the system fails to pump out chilled air within a couple of minutes, the system could need a regas, which is easy and affordable to do, or it could need extensive repair, which can be massively and prohibitively expensive.

Also, make sure the fan blows hard when the system is set to windscreen defrost mode. A broken defroster on a cold morning is irritating at best and dangerous at worst.
The last thing to check on the inside is the boot. Again, check for smells that could be signs of water ingress, and lift the carpets to look for signs of structural repairs.
Browse under the bonnet
For most of us, looking under the bonnet of a car is rather intimidating: it’s a bit like trying to read a book in a foreign language. But while you probably don’t have the knowledge to diagnose every potential mechanical malady (you’ll want a pre-purchase inspection by a certified mechanic for that), there are a few simple checks you can make to get a decent idea about the general health of the car’s powertrain. If possible, make sure to carry out these checks when the engine is cold.

First, find the dipstick. Pull it out, wipe it off with a tissue or rag, replace it and pull it out again. At the bottom end will be two markings or notches, one above the other. The oil level should sit somewhere between them. If the level is too low, it could mean that the engine is leaking or burning oil, and if too high, it could mean that the engine has been overfilled with oil, which can also cause problems. The colour of the oil should be light brown or brown: if it’s black, then the oil is dirty and ready to be changed.
Next, remove the oil filler cap and look on the underside, where any oil present should be the same colour as on the dipstick. If there’s a white-ish milky-looking residue, then it indicates water in the oil. If there’s only a little bit of residue, it could just be condensation because the car has stood still unused for a while. A twenty-minute drive at high speed on the motorway should clear it if that’s the case. If there’s a lot of residue, or a motorway run doesn’t clear it, it could be indicative of a faulty head gasket, which can result in very costly repairs or a wrecked engine.

Look around the engine bay, and you’ll see a number of reservoirs for things like coolant, brake fluid, power steering fluid, etc. Each will have minimum/maximum markings to show you where the fluid level should be. If any are low, then a leak is likely, which would need fixing before purchase.
Then take a look at the various hoses and belts you can see. Any that look brittle or cracked should be a cause for concern.
Lastly, have a look at the battery, which is usually under the bonnet, but can sometimes be in the boot. Check for excessive corrosion around the terminals. Cleaning the terminals is a simple fix, but if it isn’t done, you could eventually have problems starting the car.
Investigate underneath
There are two main culprits to look for underneath a car: rust and leaks. Although newer cars use materials and processes that better protect them from rust, it can still be an issue and do damage. Pay particular attention to corrosion on the exhaust and frame. Light surface rust is unavoidable and to be expected, but avoid cars where you see heavy scaling. Also beware of a fresh undercoat or paint underneath on older, high-mileage vehicles, as this can be hiding problems.
If you see any fluid under the vehicle that can’t be explained by condensation from the air-conditioning, it’s a concern. There are various types of fluid leaks possible, and almost all of them can lead to expensive repairs.
Suspension components can be hard to see (you might want to keep a small torch in your pocket), but if you can get at them, check the dampers for leaks or misting, and make sure the springs aren’t cracked or overly corroded.
Next steps
Take your time to carry out all your checks in a methodical manner, and if you see cause for concern, move on to the next car. Once you’ve completed your checks and you’re happy that you could be onto a winner then it’s time to take a test drive: learn how to do that here.
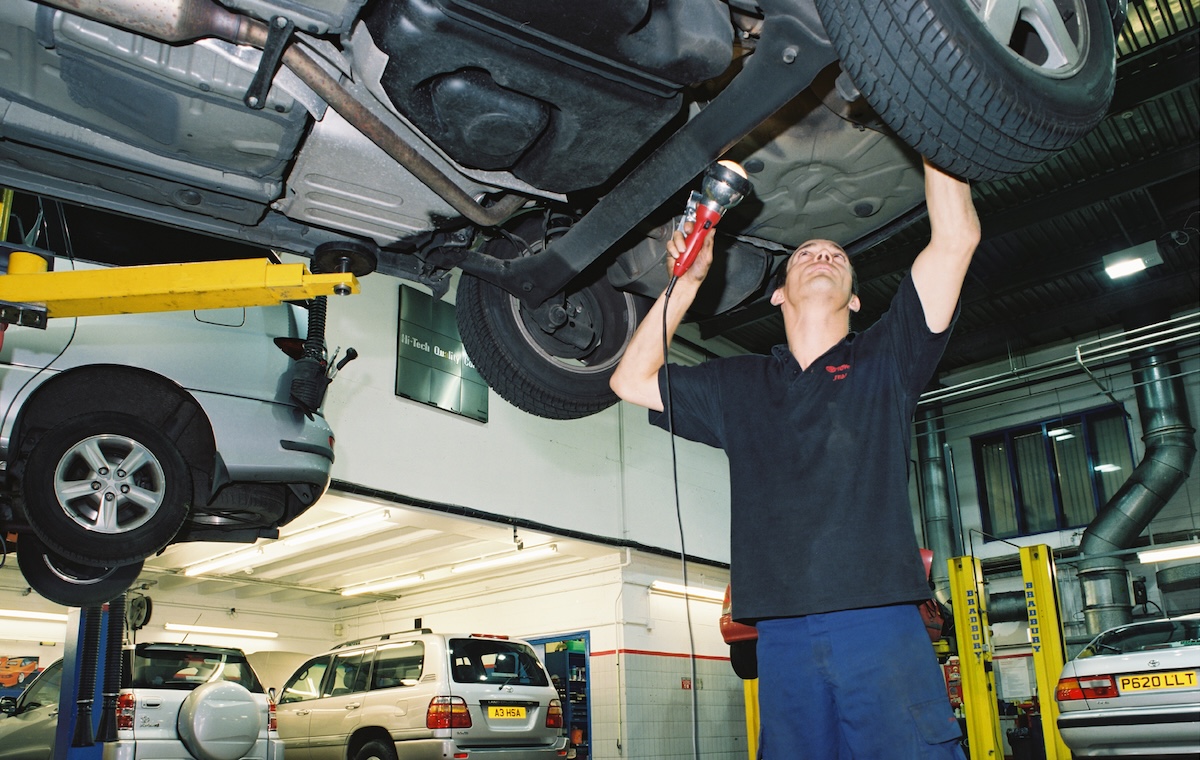
If that goes well and you’re minded to buy the car, then we’d recommend one more step before parting with any cash: a pre-purchase inspection. As important as your own inspection is to the buying process, nothing matches the experience of a trained expert. It’ll cost you a few quid (read our full guide on the subject here), but an independent mechanic can justify that cost by giving you a detailed rundown on the condition of the car, and pricing up estimates for any necessary or recommended repairs. Potentially, that small outlay could save you thousands somewhere down the line, especially if the car you’re buying is an expensive one.


