Thanks to the current prevalence of breakdown and recovery services available to do the job for you, the need for you to ever change a car’s wheel yourself has diminished in recent years. Add to this the all-too-frequent omission of spare wheels in favour of smaller and lighter emergency repair kits, and the emergence of run-flat tyres, which can be driven on even when deflated, and changing a wheel might just be a disappearing skill.
However, the good news is that if your car does have a spare wheel, fitting it in the event of a puncture is an easy job. Just make sure you check it every couple of months to ensure it’s at the correct pressure, and remember that while the advice below applies to most cars, it’s still important to read the handbook before you start.

What Are Emergency Repair Kits?
Broadly speaking, emergency repair kits consist of foam that you squirt into the tyre to seal the puncture, and a compressor to then inflate the tyre. The exact process varies, depending on the kit, so it’s important to follow the instructions in the handbook.
Safety First
If you get a flat tyre on the motorway, don’t ever be tempted to change the wheel yourself—it’s just too dangerous. Instead, get out of the car and call a breakdown recovery service once you and any passengers have retreated behind the safety barriers. Stand behind your car, rather than in front of it, to avoid being in the line of fire if somebody should accidentally drive into it.
Assuming you’re not on a motorway and can find somewhere safe to stop, you should park on a hard, level surface, switch the engine off, and turn on your hazard lights. Leave the car in first gear (or Park, if it’s an automatic), and apply the handbrake. If you can use a wheel chock or a rock to put behind the wheel diametrically opposite to the one you are changing, then even better. And if you’ve got a warning triangle and high-visibility jacket in the car, now’s the time to use them.
Tools
The spare wheel itself will be stored under the boot floor or underneath the rear of the car itself. As well as a spare wheel, you’ll need a wheel brace, which is a long, L-shaped tool that is used to loosen the wheel nuts. This might come in one or two pieces, depending on your car. You’ll also require a jack to raise the car off the ground and, in most cases, an adapter for your locking wheel nuts. All of this should be stored with the spare wheel itself, although the wheel nut adapter may be in the glovebox.
If you’re really prepared, you’ll keep a pair of cheap gloves in the car to keep your hands from getting grubby.
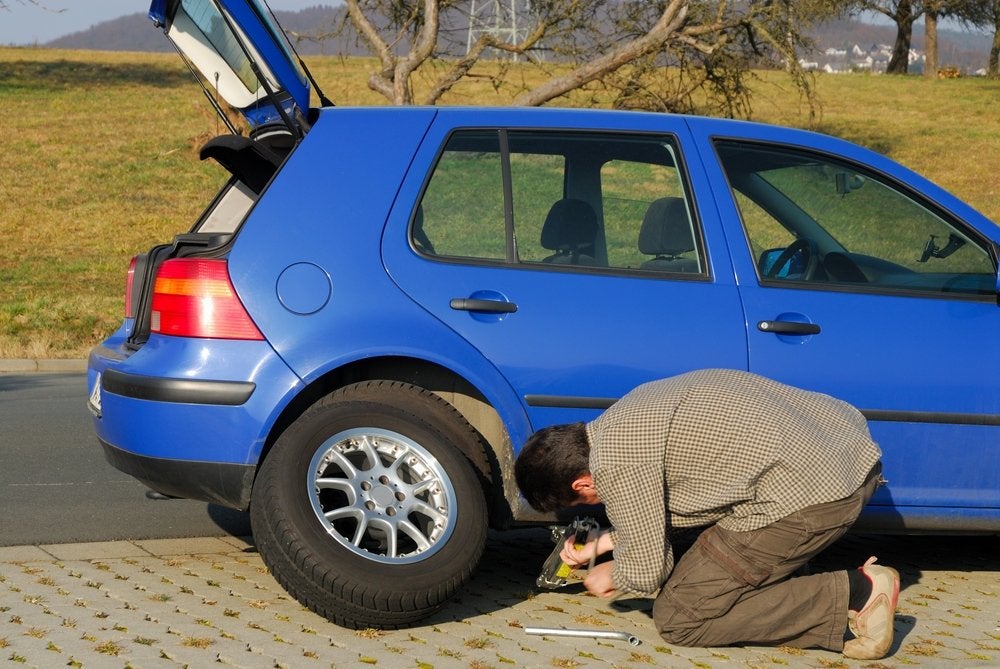
Fitting Your Spare Wheel
Now that you've found a safe space to change your wheel and collected the necessary tools, it's time to get to work.
Step 1
Once everybody is out of the car, it’s time to loosen—but not remove—the wheel nuts. You’ll need to turn the bolts anti-clockwise to do this, so slot the brace on to the first nut with the handle pointing to the left. If the nut is too stiff to be loosened by hand, try standing on the end of the brace and using your weight to release the bolt, but be prepared to regain your balance when this happens. Repeat for every bolt, using the adapter for the locking wheel nut as necessary.
Step 2
Next, you need to use the jack to lift the car off the ground. It’s important you locate your car’s jacking points (there will probably be one near the front wheel and one near the rear) to avoid damaging the bodywork. They are generally identified by small notches or triangles along the frame, but if you’re not sure, they’re also detailed in the car’s handbook.
Place the jack underneath the jacking point and turn its handle to lift the corner of the car with the flat tyre into the air. If it looks unstable at any point, lower the car to the ground, reset the placement of the jack, and start again.
Step 3
Remove the bolts fully, either using the wheel brace or turning them by hand, but leave the top one until last. Be aware that the wheel might drop off its hub as the last bolt comes off, so use one hand (or a passenger) to hold it in place. Then, gently lift the wheel off and replace it with the spare.
Step 4
Refitting, as they say, is the reverse of removal, so with the wheel correctly located on its hub, screw the bolts back in, starting with the top one. Next, tighten the bolt opposite the one you just did, and continue to work in this way, ensuring the wheel sits completely flat on its hub. Turn bolts enough so that the wheel is secure, but not so much that the force of tightening them could knock the car off the jack.
With the wheel on it’s time to lower the jack, and once the car is safely on the ground, use your body weight on the brace to tighten the nuts. Put your original wheel and tyres back in the car, and you’re ready to drive.
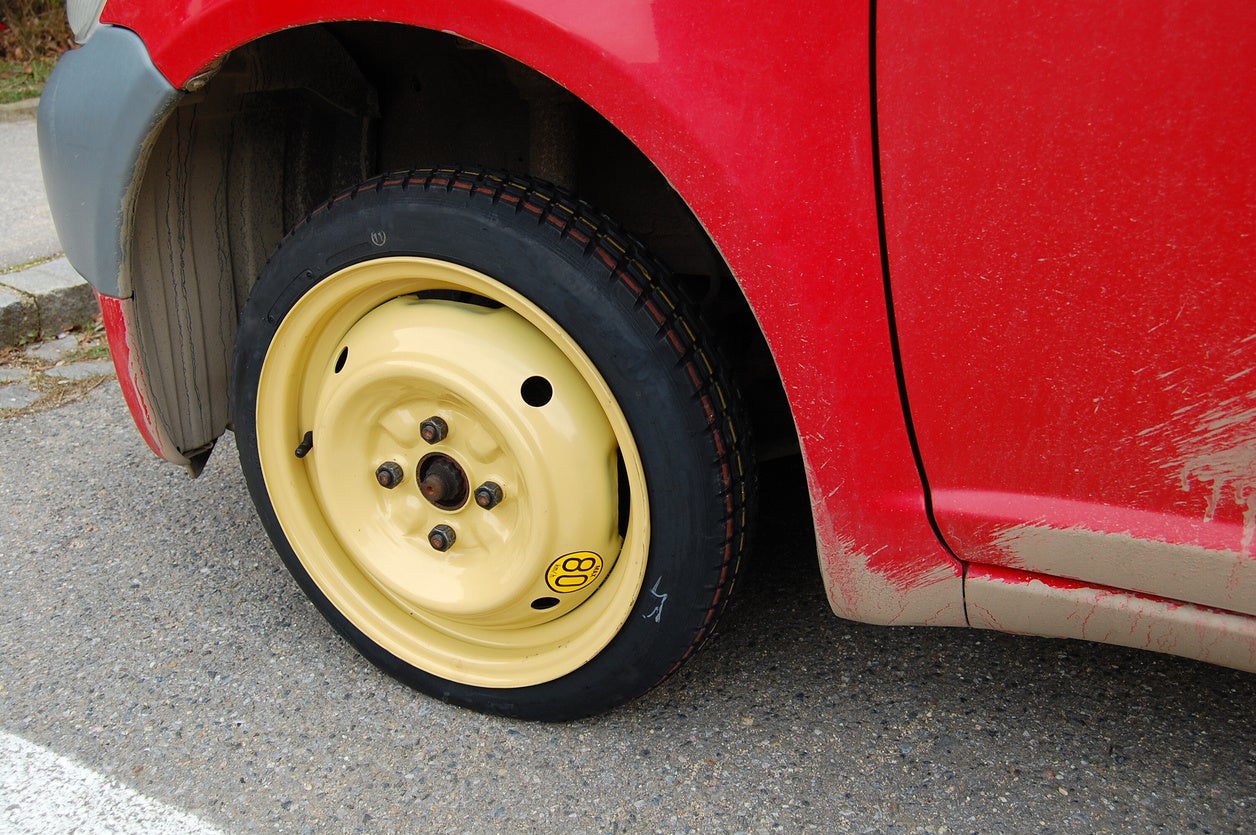
Driving On a Spare Wheel
You might have a space-saver spare wheel that is thinner than the others on your car. It is fine to use this to get you to a garage, but take note of any speed restrictions on the wheel, as many say you shouldn’t go above 50mph.
Even if it’s a full-size spare, you’ll need to get to a garage so the bolts can be fully tightened with a torque wrench, as well as to sort a replacement for the damaged tyre. If you hear any unusual sounds when you’re driving on the spare wheel, stop and check the bolts are fully tightened. If the sound continues, it’s time to call for a recovery service or local garage to come and help.

